Product
Easily send email from your mobile app using Appery.Io and Mailgun
Product

This post was written and contributed by Max Katz, head of Developer Relations at Appery.io.
Many developers using the cloud-based mobile app platform, Appery.io, send e-mails from their apps for registration, confirmation, and everything else. To make it simple to use the Mailgun API in Appery.io, we’ve introduced a Mailgun plug-in in Appery.io.
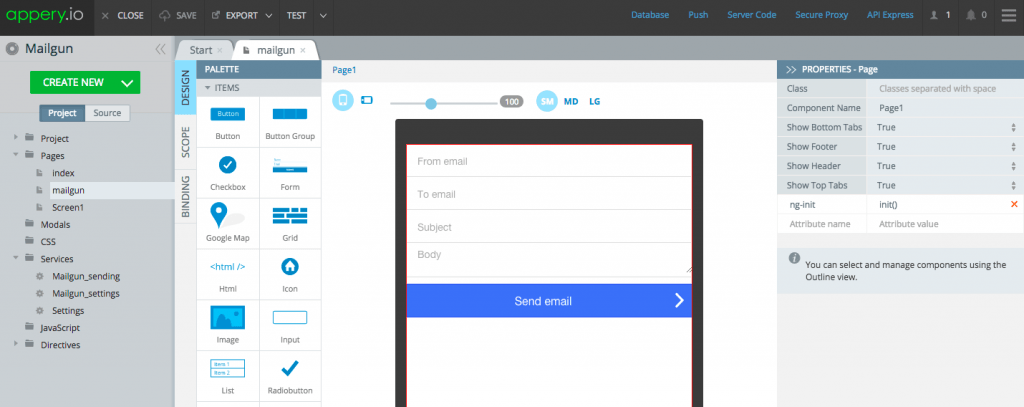
The plug-in has a sample app with one page that shows how to send an email using the API. You can use the sample app as a starting point or add the plug-in to any existing app.
Before I show you how to use the plugin, I want to tell you a little bit more about the Appery.io development platform.
Appery.io is a cloud development and runtime platform that enables to build cross-platform enterprise mobile apps connected to APIs very fast. The following are the platform benefits and features:
Now that we’ve introduced the platform, next we are going to build a mobile app that uses the Mailgun API to send email messages from the app.
The first step is to add a plug-in to a new or existing app. The plug-in is available for Ionic and jQuery Mobile apps. If you’re familiar with AngularJS, you can use the Ionic version. If you’re not yet familiar with AngularJS, it’s better to try the jQuery Mobile version (just skip one section ahead).
Create new > From PluginMailgun Mail API under Communication category. Select the check box for the plug-in and click the Import selected plugins button.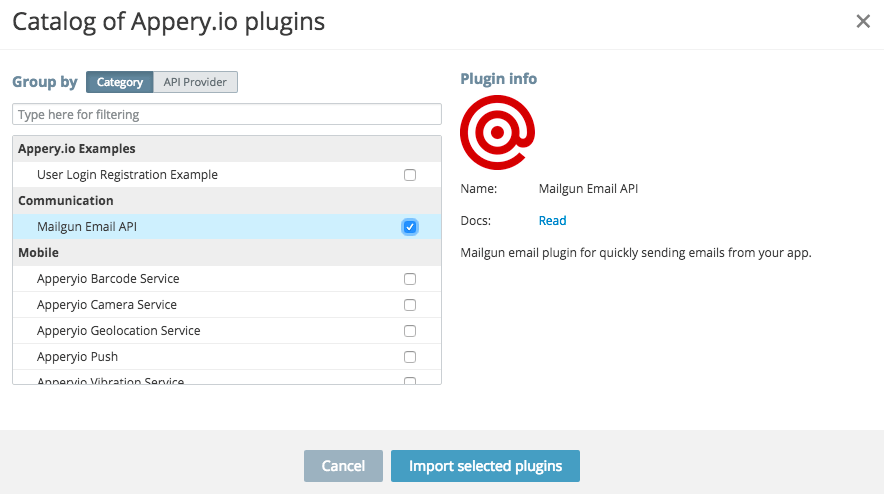
Create new > From Plugin.Mailgun Mail API under the Communication category. Select the check box for the plug-in and click the Import selected plugins button.Mailgun. Then click the Apply settings button. The plug-in will be added to your app. You’re done. The plug-in has been added to your app.Now that the plug-in is available in the app, there is some minimal configuration that you need to do. There are three parts in this section:
The Mailgun domain identifies your account.
domain property in the Services/Mailgun_settings file.The Mailgun API uses Basic Authentication for authentication. You want to make sure the authentication information is not exposed on the client, so you’re going to keep it secure on the server.
Database (toolbar, upper right).Create new database. Call the database mailgunDB.Create new collection. Call the collection secret.+Col link. Both columns will contain strings.
keyName (string type)keyValue (string type)+Row to add data to the collection.mailgunAuthProxy.>window.btoa(“api:key-0ce1xxxxxx”);>”YXBpOmtleS0wYxxxx“mailgunAuthProxy value enter “Basic ” (with space) and then paste the entire value.

Now the Mailgun API credentials are secure on the server. Next, you are going to set up the proxy to use this value.
Setting up the proxy is very quick:
Create new proxy. Name the proxy MailgunProxy.Use proxy + store sensitive data option.
Database, select mailgunDBCollection, select secretKey column, select keyNameValue column, select keyValueSave.Mailgun sending service. In the Settings tab, refresh the proxy list, then select Mailgun_Proxy.If you are building an Ionic app, there is one more step you need to complete:
Pages/mailgun, and switch to the Scope tab.Email (this is a bug and will be fixed soon).You can also optionally open Pages/index and set the Header text to Mailgun API and set its Color to positive.
You are now ready to run the app.
There are two ways to run and test your app. You can run the app in the browser or directly on the device. I will also show you how to share the app with anyone.
Quickly test the app in the browser by clicking the Test button inside the App Builder. Here is how the app looks when running in the browser:
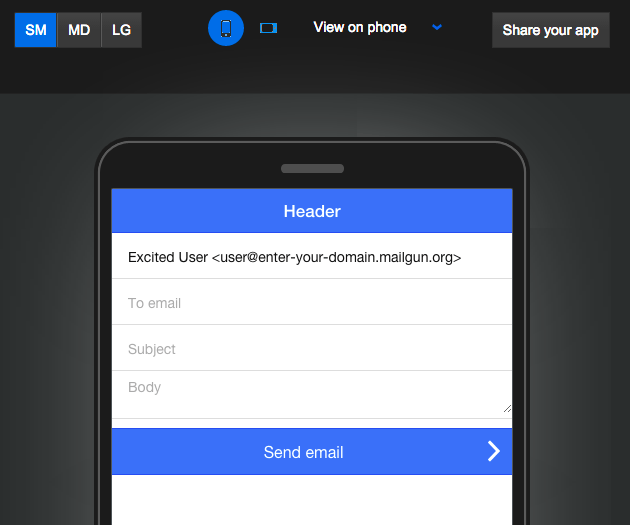
It’s is also very easy to test the app on an actual device. You don’t even need to install the app. Simply install the Appery.io Tester app on your iOS or Android device and quickly launch the app. When you sign into the Tester app, you will see all the apps that you have created and can quickly launch them. When you run the app via the Tester app, you can also quickly test any native APIs.
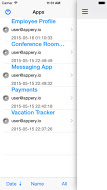
It’s also easy to share the same app with your customers, clients, colleagues, and friends. All they need to do is to install the Appery.io Tester app. Give them a special share code and they will be able to run your app.
Do you want to build apps fast? Start developing with Appery.io’s free trial plan.