Including a sender image in your email: The annoying truth
Including a sender image is a highly requested feature for adding customization and authentication to your emails, campaigns, and templates. As a Product Manager, it irks me that I have no control over implementing it for the betterment of our users. So, I decided to write this post as a reference for those seeking a solution.
PUBLISHED ON
Over the last few years, especially as teams across industries have become more remote, email has seen a lot of changes both good and bad. Everyone will agree that an increase in phishing attacks, stemming from more folks working from home and establishing an online presence, is categorized under worse.
Unfortunately, the uptick in phishing attacks affects legitimate email senders by making recipients more wary, and that’s why it’s more important than ever to ensure your email looks (and is) legitimate.
Including a sender image is one of the top requests from our user feedback. And, while we have no control over implementing it, there are a couple solutions senders can use to help their emails look more legitimate.
If it looks like an email, and smells like an email
The more legitimate your email looks, the more likely it is that your recipients will engage with it, but phishing emails can be sophisticated. Luckily, there are a few obvious rules to follow to prove you’re a trusted sender.
Use your own custom domain, ideally the same one as your website, to send from: yourname@yourcustomedomain.com.
Make sure your SPF records are in place and correct, as well as other authentication protocols like DKIM, and DMARC.
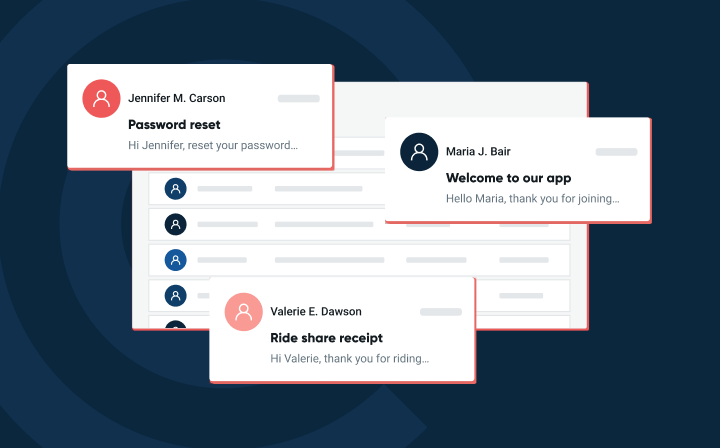
Then there are some not so obvious tips, like using a Friendly From name and including an image next to it like so:

A Friendly From name is a user defined name identifying the sender to the recipient: (Friendly From name <friendly from address>)
Here’s where I’m irked. Email Service Providers like Mailgun have no control over the display images that show up next to the Friendly From in a recipient’s mailbox. The image formatting is controlled by the various mailbox providers – Yahoo, Microsoft Outlook, Apple Mail etc. –, their unique methods and protocols, and the email clients that interact with them.
By default, when you send an email message, most email clients that support an image for a sender will show the initials, either inferred from the from address or the Friendly From name. For example:

Notice that the initials CF in the image above are taken from the Friendly From that I included to send in the message.
Even though it can’t be implemented on the email provider side, there are a couple of different ways you can include a PNG image or logo in your message like the Houzz example above, (Houzz uses BIMI, btw).
Sender image ways and tools
Gravatar
Some email clients, such as Thunderbird, utilize Gravatar to display a sender image in a recipient’s inbox. Gravatar stands for Globally Recognized Avatar, and is used on many websites to show images and profile pictures, especially in admin portals.
In order to set up a Gravatar, you’ll need to create a free account, then register the sending address (the email address you’re using to send email messages) and upload an image. Once you’ve followed all of the necessary steps, your recipients will see your image next to your address, if your recipient is using a client that supports Gravatar.
Gmail and G Suite
If you have your corporate sending domain setup in G Suite, and the sending address has an image or logo setup, then when you send messages to gmail.com or G Suite recipients, those recipients will see your image. This only works if the recipient is either a gmail.com or G Suite user as the logo is stored within Google. Here’s an example of an email sent via Mailgun to my personal Gmail account using my corporate email address that has an image setup:

Brand indicators for message identification – BIMI, for short
BIMI is an attempt at standardizing a process to publish your brand’s logo for use in email. BIMI has a lot of promise, and more and more mailbox providers are signing up to support it. In order to use it, your email must pass DMARC authentication checks, as this ensures that your domain is not being impersonated, and enhances security before showing the image. You’ll also need to generate a BIMI record that includes a URL to the location of your logo (in SVG format).
At this point, it’s important to mention that there are currently two classes of BIMI records: self-asserted and certified.
Self-asserted means you simply publish your BIMI record with a link to your image without verification that it belongs to your domain.
Certified means you also provide a link to a certificate.
It’s up to the mailbox providers as to which class they support – Gmail, for example, only supports certified. Getting certified requires applying for a Verified Mark Certificate, which is currently only being issued to domains invited to participate in a BIMI pilot offered by Google.
For more in-depth information about BIMI, check out our blog posts on what is BIMI and how we support it. Or dive into the Path to Bimi ebook by Email on Acid.
Keep calm and send
Email is always evolving and sometimes that creates pain points. Over time, we’re hopeful that standardization attempts, like BIMI, will create more synergy in the space and help with deliverability. Until then, I will continue to offer up helpful (frustration-fueled) tips when needed to improve your sending experience.
Obviously, at Mailgun we’re email geeks like you. Did this help? Do you want more hear more from our team? Subscribe to our newsletter so you don’t miss out on future posts like this.


