IT & Engineering
Closing the loop between your customer data and your email data
One of the latest tech buzz phrases is “big data”. Once you put something on the internet you will (hopefully) have plenty of data to choose from – the hard part is tying data from disparate sources all together into actionable insights. This is what “big data” is supposed to help with…I think.
PUBLISHED ON
One of the latest tech buzz phrases is “big data”. Once you put something on the internet you will (hopefully) have plenty of data to choose from – the hard part is tying data from disparate sources all together into actionable insights. This is what “big data” is supposed to help with…I think.
In this post, we will walk you through an easy way to link email data with your customer database, so you can draw meaningful conclusions. Not sure if this is complicated enough to fall under the big data umbrella…maybe it’s small data…anyways, hopefully it’s helpful.

Tying email to web analytics data is not always enough
One of the easiest ways to tie email data to customer data is by using links generated from your website analytics provider. It’s fairly straight forward to generate and use query strings like the one below from providers like Google analytics in your emails:
http://www.mystartup.com/?utm_source=newsletter&utm_medium=email&utm_campaign=offer1
They even offer handy URL builders to facilitate the process. When one of your customers clicks this url, your website analytics provider can tell you how many signups you got from your email.
However, there are a whole host of things that you want to be able to track about your customers, besides whether they signed up. For example, if you offer an API-based service for developers, like Stripe or Urban Airship, you might want to know if your newsletter increased average API calls per day 3 months after they signed up. This data needs to be linked to your customer or application database, not isolated in a separate web analytics data store (since web analytics aren’t designed to track API calls), so query strings by themselves don’t help.
There are somewhat complicated work arounds to help tie campaigns to users and great services like Kiss Metrics and Mixpanel that help facilitate this. We definitely recommend trying those services out if you are serious about web analytics.
Another easy way to match your email activity to an individual in your customer database is by using Mailgun webhooks and custom variables.
Using custom email variables to tie together granular behavioral data
Every time a user opens, clicks or unsubscribes from an email, Mailgun can tell you about it through webhooks. A web hook is simply an HTTP POST to your app, based on a certain action. These actions can be configured in the Mailgun control panel.
Let’s say you want to keep track of which customers clicked on a particular offer in your monthly newsletter, so that you can measure whether that newsletter lead to an increase in average API calls, per customer, after 3 months.
With the proliferation of API-based, pay-as-you-go services, tying email marketing directly to actual usage is a very real problem to solve, and those who can solve it, stand to make a lot of money.
To measure this, you will need to know which users clicked on which offer (Mailgun can tell you this) AND tie this to your database where you store data about each customers API usage. Here’s how you do that.
Setting up webhooks
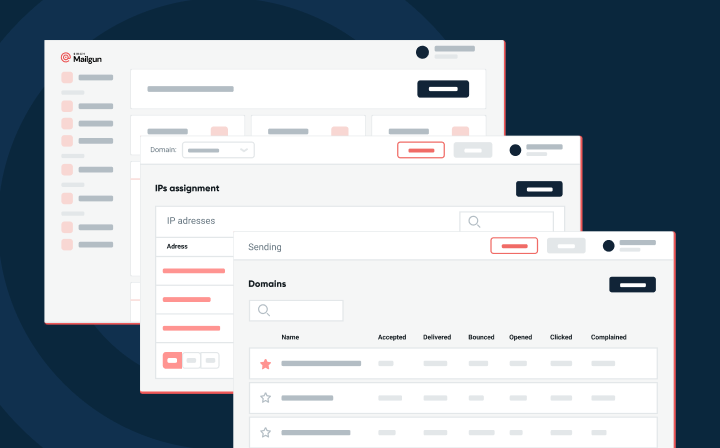
First you need to set up Mailgun to pass you information when a user clicks on a link in one of your emails. You do this in the Mailgun Control Panel on the Tracking tab:
When Mailgun POSTs the webhook, you will receive data about the click event including the email recipient, the url clicked, and a timestamp (see docs for a full list of Click webhook parameters). In some cases, simply using “recipient” as a unique value to match up this email activity with your customer database will be enough to you to store which customer clicked on your email – but not always. For complex data models, such as when a single customer has multiple accounts, or multiple customers share a single account, you’ll need to specify a more detailed unique ID.
Custom variables to the rescue!
Setting up custom variables
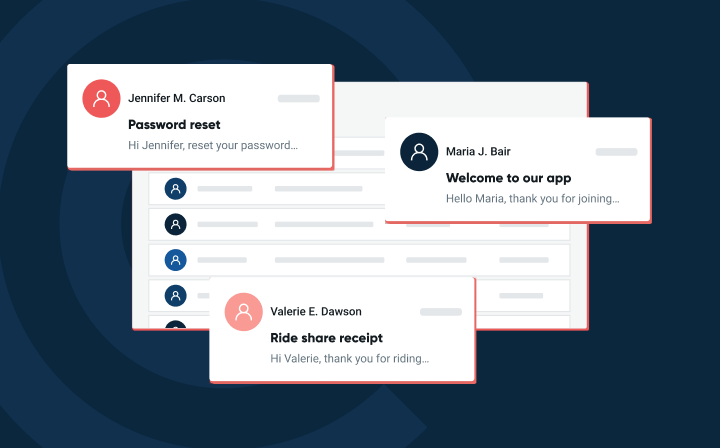
Mailgun gives you the ability to specify custom variables for each email you send. You can think of these variables as unique, message-level meta-data. When a user clicks on your email, these custom variables are passed to you in the webhook, along with the other parameters.
In this example, we want to match an email recipient back to their account using Account Number. Moreover, we want to pass the Email Campaign ID, so we can test out which campaign was more effective in increasing average API usage.
Custom-Variables: {“name”: “Awesome Customer”, “account_number”: “12345”, “email_campaign_id”: “30 Day Follow-up”}
Deploying your email
Hopefully your business is successful and you have lots of customers. If your business is indeed successful it’s likely because you’re data-driven and always A/B testing different campaigns. This can create a lot of permutations.
No problem – here’s how to deploy your email with a simple little script that batches the recipient and their custom data:
def postBatchToMailgun(customers):

    batchJson = {} #Create empty Dictionary
    toField = [] #Create empty List

    for customer in customers:
        temp = {} #Create temporary Dictionary
        temp['accountNumber'] = customer["id"]
        temp['name'] = customer["name"]
        temp['emailCampaignId'] = "30 Day Follow-up"
        batchJson[customer["email"]] = temp # Assign dictionary of attributes to email
        address dictionary item
        toField.append(customer["email"]) # Populate list with email addresses for To
        field via List append
        batchJson = json.dumps(batchJson) # Convert Dictionary of attributes to JSON

    return requests.post("https://api.mailgun.net/v2/samples.mailgun.org/messages",
        auth=("api", "key-3ax6xnjp29jd6fds4gc373sgvjxteol0"),
        data={"from": "Pro User <me@samples.mailgun.org>",
        "to": toField,
        "subject": "Hi %recipient.name%, Check This Out!",
        "html": "Promo HTML Here",
        "v:Customer-Account-Number": "%recipient.accountNumber%",
         #In production, you should hash this account number, or you may risk exposing
         sensitive customer data.
        "v:Email-Campaign-Id": "%recipient.emailCampaignId%",
        "recipient-variables": batchJson})
In the sample code above, method postBatchToMailgun() expects no more than 1000 rows from your database. You’ll want to determine the amount of loops required to iterate through your database of customers, then pass the “customers” tuple to the postBatchToMailgun() method.
Below is a sample of iteration through your database of customers.
MySQLdb.connect(host="localhost",
                          user="myusername", # your username
  passwd="topsecret", # your password
  db="campaign") # name of the database

 cursor = db.cursor(MySQLdb.cursors.DictCursor)

 cursor.execute("""
 SELECT count(*) as total
 FROM campaign
 """)
 count = cursor.fetchone()

 total = count['total']

 if (total < 1000):
 iterations = 1
 else:
 iterations = int(math.ceil(total / 1000))

i = 0
while i < iterations:
cursor.execute("""
 SELECT id, name, email
 FROM campaign LIMIT 1000 """)
customers = cursor.fetchall()

postBatchToMailgun(customers)
#Note: Here you need to update your list of 1000 users so you don't get the same result for each iteration.
Setting your app up to receive the web hooks
Once you’ve emailed your customers and they start opening and clicking on your awesome emails, you’ll need to catch the parameters sent with the webhooks. Here is a little flask app that shows you the basics:
from flask import Flask
from flask import request
app = Flask(__name__)

@app.route('/mailgun-tracking', methods=['GET', 'POST'])
def tracking():
    # access some of the email parsed values:
    request.form['Email-Campaign-Id']
    request.form['Customer-Account-Number']
    request.form['recipient']
    request.form['event']

    # extended parameters
    request.form['city']
    request.form['region']
    request.form['country']
    request.form['ip']
    request.form['device-type']
    request.form['user-agent']
    request.form['client-os']
    request.form['client-type']

    return "Ok"

if __name__ == '__main__':
    app.run(host='50.56.174.200', port=100, debug=True)
This sample specifically lists some of the parameters that you might be interested in. You can find a full list of webhook parameters in our docs. Just add the ones you want.
Matching email data to customer data
Once the webhook data is passed to the application, it is simply a matter of matching email to customer based on the account_number variable and adding the Campaign ID to the customer record.
Now you have the ability to measure the long-term effect of your email campaigns without having to rely on persistent cookies and other less sophisticated web tracking methods.
Happy emailing!
Mailgunners


